In today's digital age, our smartphones have become versatile tools that can handle a wide range of tasks, including document scanning. With the increasing need to digitize paperwork and reduce the clutter of physical documents, knowing how to scan a document on your iPhone can be a valuable skill. Whether it's a receipt, a contract, a handwritten note, or any other piece of paper, your iPhone can transform it into a digital format with ease.
This article will guide you through the process of scanning documents using both the native Notes app and third-party scanning applications, making the task simpler and more convenient than ever. Embrace the power of your iPhone and unlock the potential to go paperless with this essential skill.
Preparing to Scan a document on iphone
Before you dive into the process of scanning documents on your iPhone, there are a few key steps to ensure a smooth and successful scanning experience. Proper preparation can make all the difference in the quality of your scans and the ease with which you can manage them.
A. Ensure you have the necessary tools and apps:
Check your iPhone: Make sure your iPhone is in good working condition, with a charged battery or access to a power source to prevent interruptions during the scanning process.
Update your iOS: Ensure your iPhone's operating system is up to date. This guarantees you have the latest features and security updates for your scanning apps.
Download scanning apps: If you plan to use third-party scanning apps, visit the App Store to download and install one of the reputable scanning applications available. Some popular choices include Adobe Scan, Microsoft Office Lens, and CamScanner.
B. Set up good lighting and a stable surface:
Proper lighting: Adequate lighting is essential for clear and high-quality scans. Natural daylight or well-distributed indoor lighting is ideal. Avoid shadows, as they can affect the quality of your scans.
Stable surface: To avoid blurriness in your scans, place your iPhone on a stable surface. If you don't have a tripod or stand, use a stack of books or any other flat, steady surface to rest your phone on. The steadier your phone, the better the results.
By having the right tools, apps, and a well-prepared workspace, you'll set yourself up for success when it comes to scanning documents on your iPhone. These preliminary steps can make the actual scanning process more efficient and result in higher-quality scans.
How to scan a document on iPhone by Using the Notes App
The Notes app on your iPhone is a powerful, built-in tool that can help you scan and store documents with ease. This section will guide you through the process of using the Notes app to scan your documents.
A. Launching the Notes app:
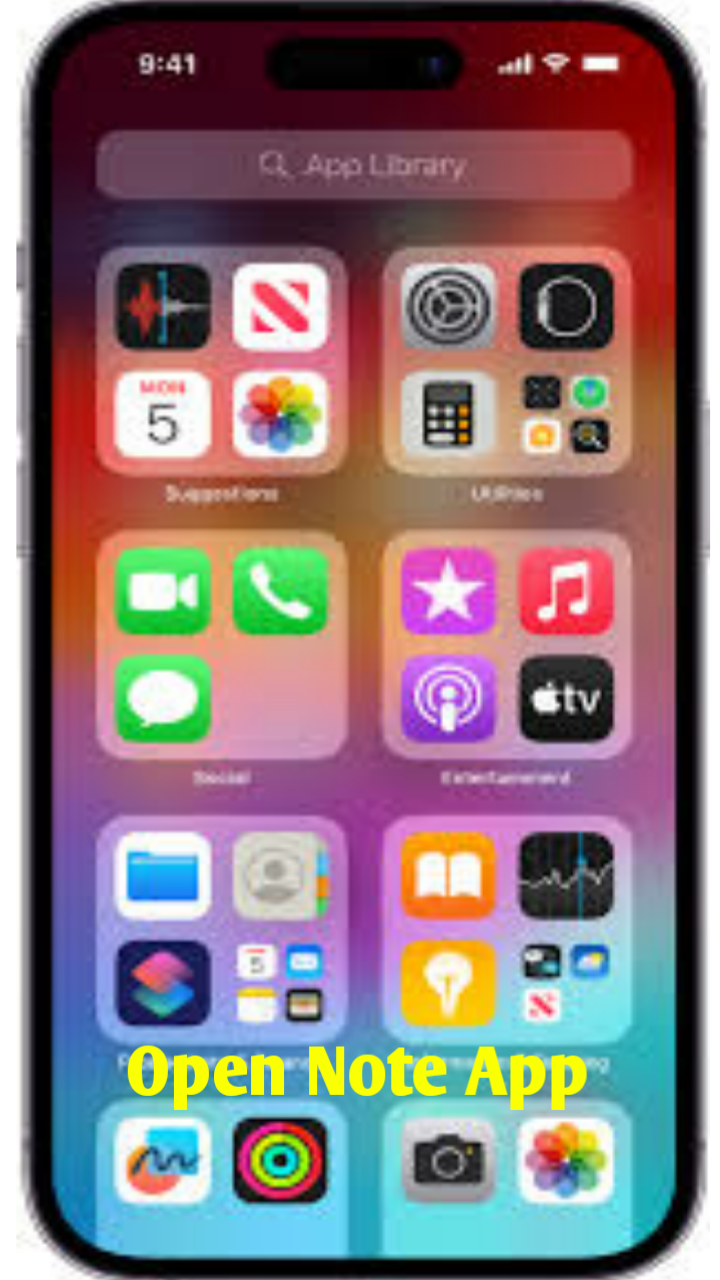
- Unlock your iPhone and navigate to the home screen.
- Find the "Notes" app icon, typically a yellow notepad, and tap to open it.
B. Creating a new note:
- In the Notes app, tap the "+" symbol or the "New Note" button to create a new note.
- You'll be presented with a blank note canvas where you can add text, drawings, and attachments.
C. Scanning a document:
- Within the note, tap the camera icon (usually located above the keyboard) to access the scanning feature.
- Choose "Scan Documents" from the available options.
D. Adjusting scan settings:
Before scanning, you can adjust settings such as color, exposure, and size. These settings will help you capture the document more accurately.
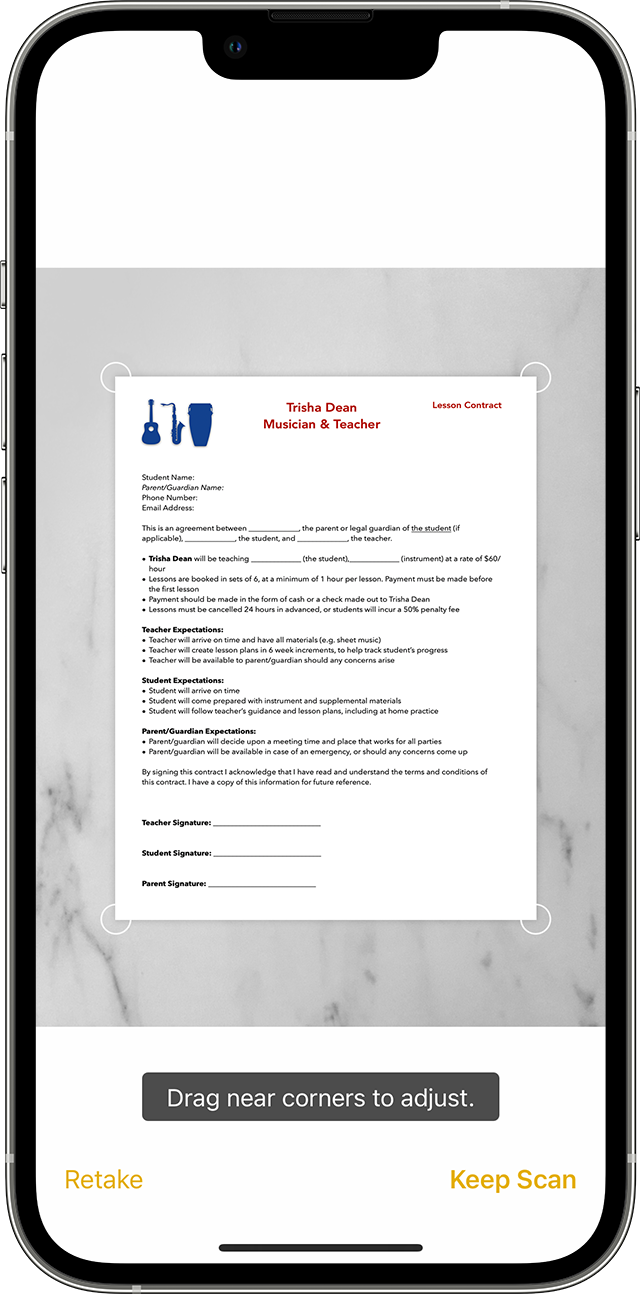
Line up the document with the on-screen guide, and the app will automatically detect and capture the document.
If necessary, you can manually adjust the borders by dragging the corners of the frame.
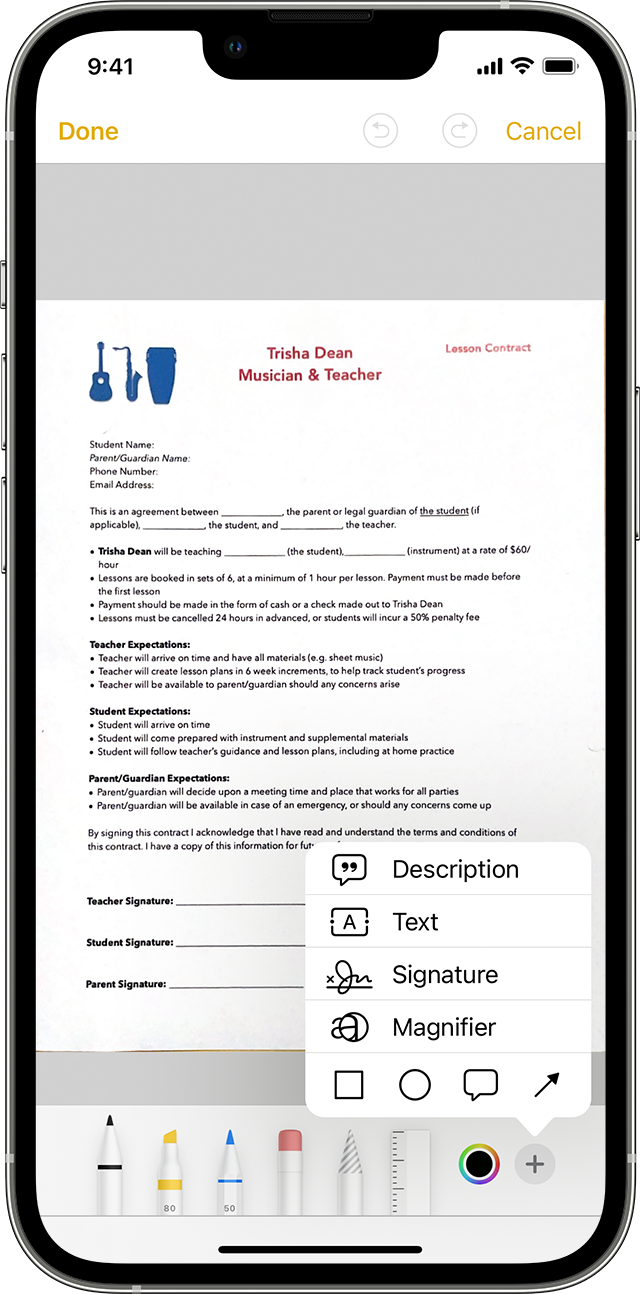
Once the scanning process is complete, your document will be saved within the note. You can then make further adjustments, add annotations, or simply save it as a PDF. This method is ideal for quick, on-the-go scans when you don't need the advanced features of third-party apps.
Remember that the Notes app is just one of the many ways to scan documents on your iPhone.
How to scan a document on iPhone by Using Third-Party Scanner Apps
While the Notes app provides a simple and convenient way to scan documents on your iPhone, you may find that third-party scanner apps offer more advanced features and customization options. Here, we will explore how to use these apps to scan documents effectively.
A. Downloading a scanning app from the App Store:
- Open the App Store on your iPhone.
- Use the search bar to find a scanning app of your choice. Some popular options include Adobe Scan, Microsoft Office Lens, and CamScanner.
- Download and install the app on your device.
B. Opening the scanning app:
- Locate the newly installed app on your home screen and tap to open it.
- Most scanning apps will require some initial setup, including granting necessary permissions (e.g., camera access).
C. Scanning a document on iPhone with third-party apps:
- Within the app, locate the option to scan documents. This is usually represented by a camera or scanner icon.
- Position your iPhone camera over the document, aligning it with the on-screen guide provided by the app.
- Capture the document by tapping the shutter button or following the app's instructions.
D. Additional features and settings:
- Third-party scanner apps often offer various features, including the ability to:
- Crop and adjust the scanned image.
- Enhance image quality through filters and editing tools.
- Organize and categorize your scanned documents.
- Export scans in different file formats, such as PDF, JPEG, or Word documents.
- Save scans to cloud storage or email them directly to yourself or others.
These apps can be particularly useful if you need to scan a large number of documents, require advanced editing options, or want to seamlessly integrate your scans with other productivity tools and cloud services. They offer greater flexibility and control over the scanning process, making them a valuable addition to your document management toolkit.
Saving and Sharing Scanned Documents on iPhone:
Once you've successfully scanned your documents using the Notes app or a third-party scanning application, the next step is to save and share these digital copies. Now, we'll explore how to efficiently manage your scanned documents on your iPhone.
A. Saving scans to your iPhone:
- After scanning a document, it's typically saved within the app you used.
- Check the app's designated storage area for your scans.
- To keep your iPhone organized, you can create folders or categories within the app to store similar documents together.
B. Exporting scans to various file formats:
- Most scanning apps allow you to export your scans in various file formats. The most common options are PDF and JPEG.
- Select the document you wish to export and look for the "Export" or "Share" option within the app.
- Choose your desired file format and follow the prompts to complete the export process.
C. Sharing scanned documents with others:
- To share a scanned document, locate the sharing feature within the app or open the document itself.
- Typically, you can send the document via email, messaging apps, or social media platforms. You can also choose to save it to your cloud storage, such as iCloud, Google Drive, or Dropbox.
- Ensure you select the sharing method that best suits your needs and the recipient's preferences.
Whether you need to keep your scanned documents for personal reference, share them with colleagues or clients, or store them in the cloud for easy access from multiple devices, it's important to manage your digital files efficiently. Proper organization and careful selection of file formats can help you maintain an organized and accessible digital document library.
Organizing and Managing Scanned Documents
As you accumulate a collection of scanned documents on your iPhone, it's essential to stay organized and manage these digital files effectively. This section will guide you through the process of organizing and maintaining your scanned documents.
A. Creating folders or categories:
- To keep your documents well-organized, many scanning apps allow you to create folders or categories. You can group related documents together for easy access.
- Typically, you can create new folders directly within the app. Give them descriptive names that reflect the contents they will hold.
B. Renaming and sorting scanned documents:
- To make it easier to find specific documents, consider renaming them with meaningful titles. Many apps allow you to change the document's name after scanning.
- Sort documents by date, title, or category to quickly locate what you need. Use the sorting and filtering options provided by the app to streamline your document management.
C. Deleting or archiving old scans:
Over time, your document collection may become cluttered with outdated or less relevant scans. Regularly review your scanned documents and delete or archive those you no longer need.
Archiving is an excellent way to preserve old documents while keeping your active file list uncluttered. Archive folders are usually out of sight but still accessible when needed.
Effective document organization ensures that your scanned documents remain easily accessible and that you can retrieve important information quickly when required. By taking the time to create a structured system for your digital files, you'll enhance your productivity and reduce the risk of losing or misplacing essential documents.
In the final part of this guide, we will address common issues and provide troubleshooting tips to help you navigate any challenges that may arise during the document scanning process.
Troubleshooting Common Issues
While scanning documents on your iPhone is generally straightforward, you may encounter occasional challenges. This section will cover common issues and offer troubleshooting tips to ensure a smooth document scanning experience.
A. Tips for getting clear scans:
Steady your hand: Shaky hands can result in blurry scans. Use a stable surface or a tripod to keep your iPhone steady.
Good lighting: Ensure proper lighting to avoid dark or grainy scans. Natural daylight or evenly distributed indoor lighting works best.
Clean your camera lens: A dirty lens can lead to smudges and imperfections in your scans. Wipe the camera lens with a soft, lint-free cloth.
B. Dealing with app crashes or errors:
Update the app: Make sure your scanning app is up to date. App developers often release updates to fix bugs and improve performance.
Restart your iPhone: If the app is acting glitchy or unresponsive, try restarting your iPhone to refresh its system.
Check for storage space: A lack of available storage can lead to issues. Delete unnecessary files and apps to free up space for your scans.
Reinstall the app: If all else fails, you can try deleting the app and then reinstalling it from the App Store.
C. Managing storage space:
- Over time, your scanned documents can take up valuable storage space on your iPhone.
- To free up space, consider transferring older scans to a cloud storage service or your computer. You can also delete or archive scans you no longer need.
- Review and manage your iPhone's storage regularly to prevent it from becoming a bottleneck for your scanning activities.
By addressing these common issues and implementing the troubleshooting tips, you can ensure that your document scanning process remains efficient and problem-free. Document scanning is a valuable feature of your iPhone, helping you go paperless and easily manage important information. With the knowledge and tools outlined in this guide, you can make the most of this capability and streamline your document management.
FaQs:
How do I scan a document as a PDF on my iPhone ?
To scan a document as a PDF on your iPhone, use the Notes app. Open a new note, tap the camera icon, and select "Scan Documents." Position the document, adjust settings, and capture. After the scan, save it as a PDF within the note and easily share or organize it.

.png)

.jpeg)
.jpeg)


.jpeg)


